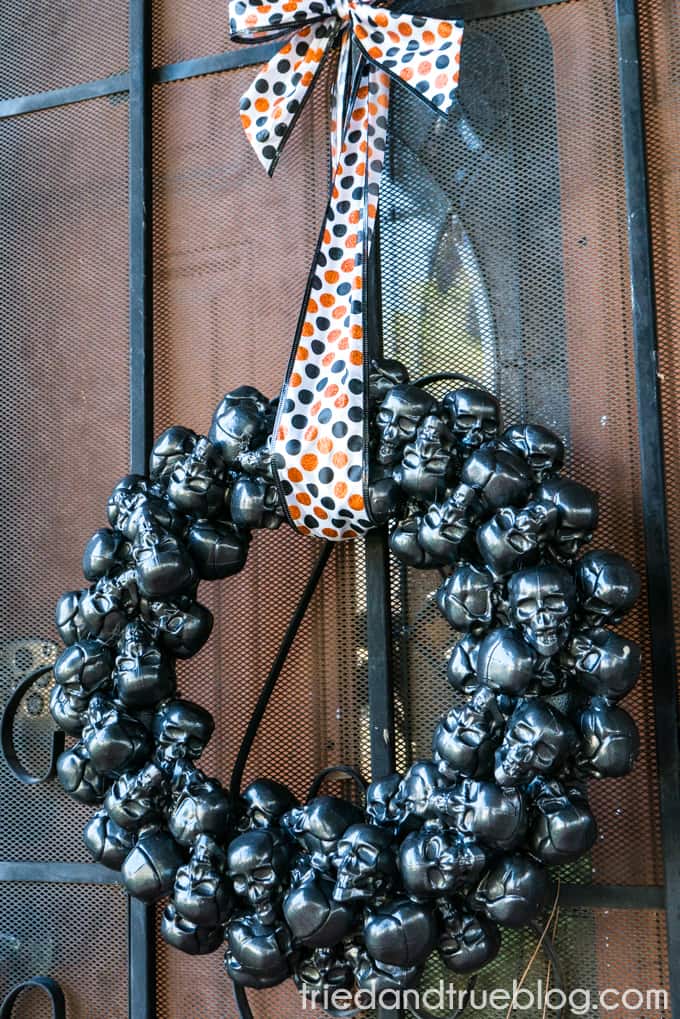
There are few crafts I enjoy making more than Halloween wreaths. I’ve made so many wreaths over the years, and I love each of them! That being said, This Metallic Skulls Halloween Wreath might just be one of my absolute favorites. It’s minimal and modern from a distance, with just the right amount of spookiness when you get close. Of course, it doesn’t hurt that you can get almost all the supplies from a dollar store!
Dollar Store Halloween Supplies
You can pick up many great Halloween supplies at most dollar stores! I’ve made more than a dozen different types of dollar store DIY Halloween wreaths from craft supplies I’ve picked up there. Some of my favorites are:
- wire wreath form
- foam and plastic pumpkins
- plastic skulls
- plastic eyeballs
witch hats - spider web material
- porch signs
- front door signs
- black ribbon
- candy
- glitter
- strips of gauze
- metal wreath form
- deco mesh
- mini skeletons
As you can see, the options are almost endless! Most of my Halloween holiday decorations are from Dollar Tree but I’ll hop into the other dollar stores just out of curiosity sometimes. Halloween crafts are just so much fun to make!
Metallic Skulls Halloween Wreath
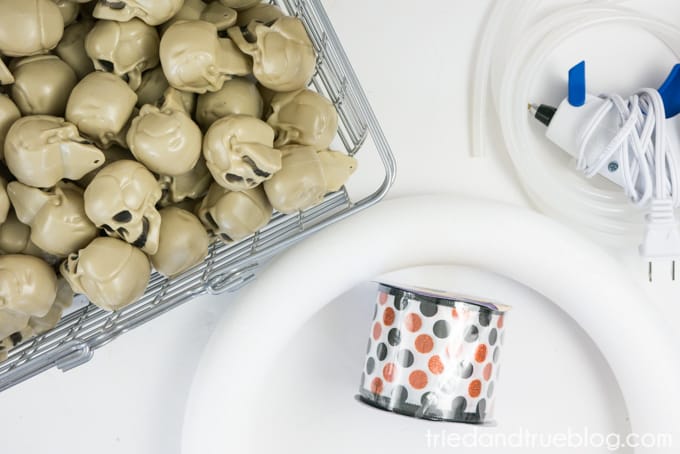
Supplies:
- 10 Miniature Skulls 8 Count Bags
- Halloween Wired Ribbon
- Styrofoam Wreath
- Hot Glue Gun / Sticks
- Matte Hammered Spray Paint
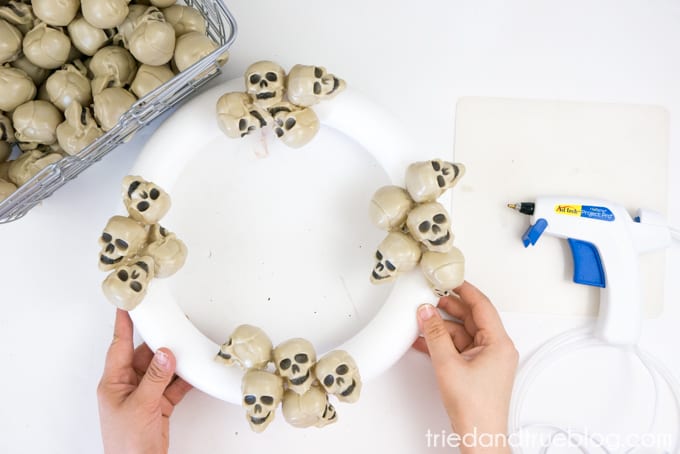
Step 1. First things first, you’re going to assemble all your supplies on a table in front of you…and then you’re going to grab a beverage of choice and turn on a good movie because gluing the skulls in place is going to take a while. But I promise it’s worth it! Begin by placing hot glue on the back of a skull and then placing it on the wreath, making sure to hold it in place long enough for the glue to harden. Don’t worry if it feels like the skulls aren’t really secure on the wreath. By the time you finish, there’s going to be so much glue on the wreath those skulls aren’t going anywhere!
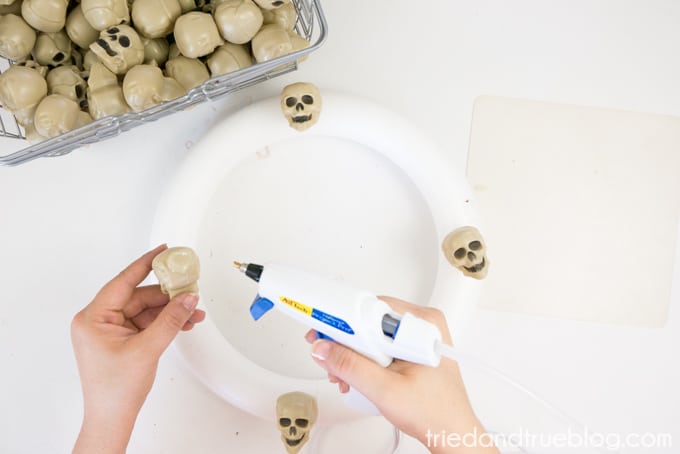
Step 2. Now, glue a second skull on all four corners, positioning them closer to the first set of skulls.
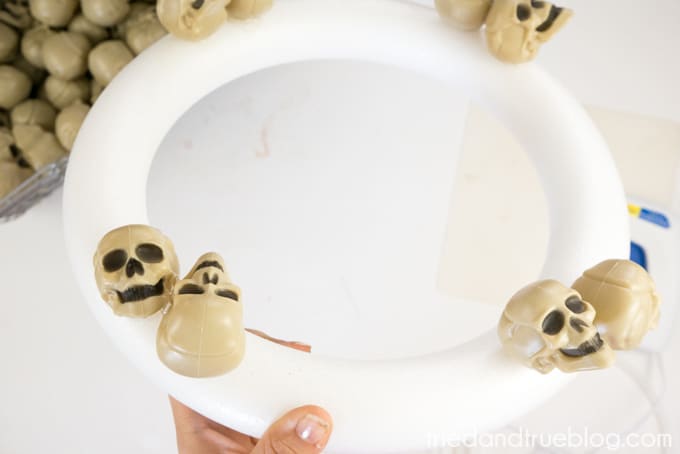
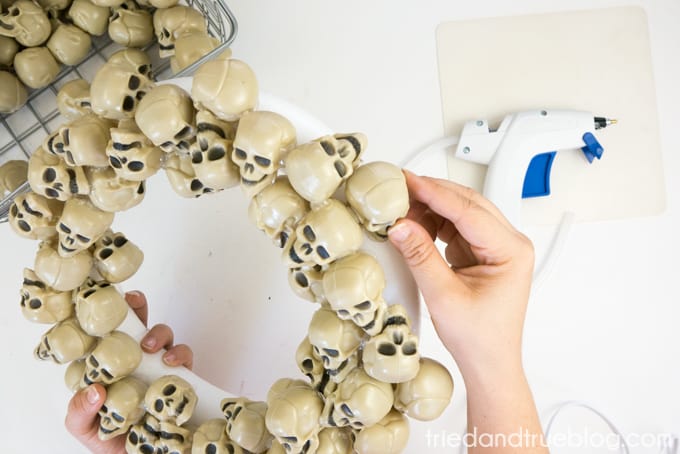
Step 3. Continue adding the skulls until the entire front of the wreath is covered.
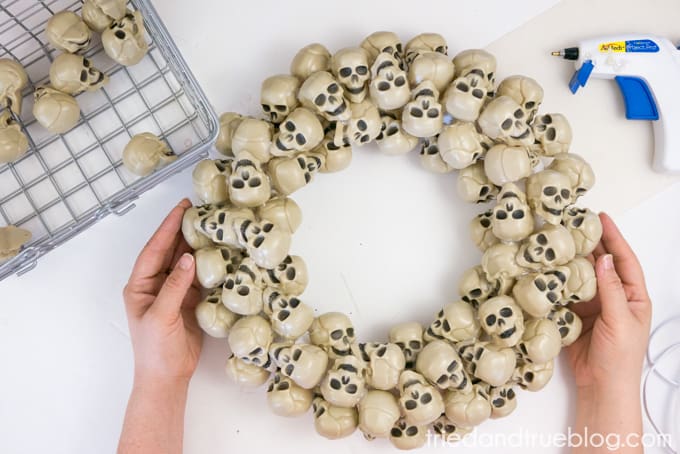
Step 4. Fill in the outer and inner edges with skulls until most of the wreath is covered.
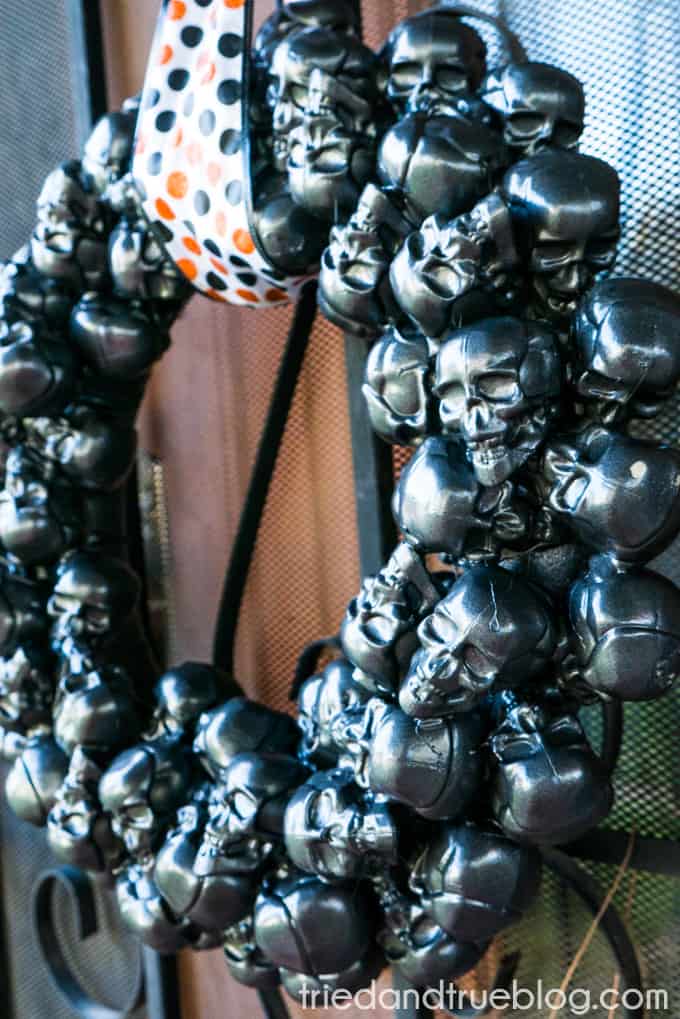
Step 5. Now that all your skulls are in place, you must decide whether to keep your wreath au natural or go full glam with metallic paint. I chose spray paint!
Step 6. Apply your desired spray paint color over the entire wreath using light coats, allowing for full drying time.
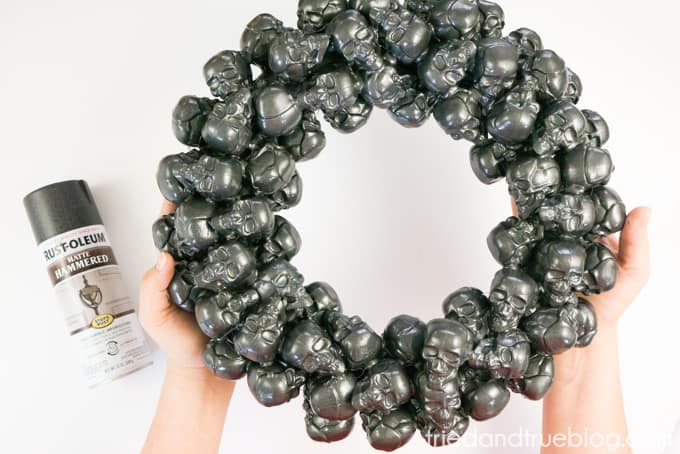
My favorite thing about this Metallic Skulls Halloween Wreath is that from a distance, it looks like just an ordinary black wreath, but when you get closer, there are skulls, skulls, and more skulls!


Leave A Reply!