This is a sponsored conversation written by me on behalf of Cricut. The opinions and text are all mine.

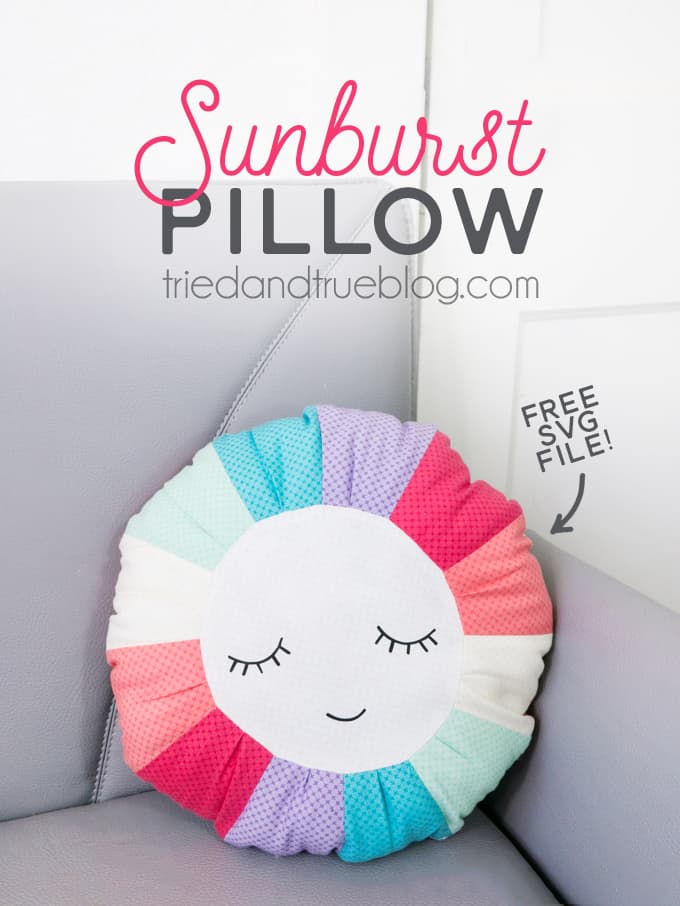
I am absolutely in LOVE with this Sunburst Pillow Free SVG Files! Seriously, in love. Plus, the fact that I was able to cut out all the fabric pieces with the Cricut Rotary Blade? Amazing. I’ve been sewing for a long time and the worst part of it has always been the tedious task of cutting out repeated shapes from different fabric. Now I can just get my Cricut Maker to do it for me!
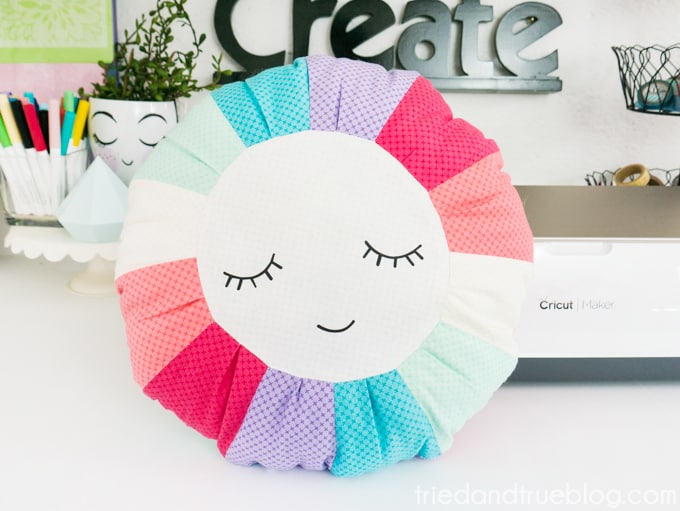
Sunburst Pillow Free SVG Files
Materials:
– Cricut Maker & Rotary Blade
– Pre-Cut Fat Quarter Stack, Kisses
– Everyday Iron-On, Black
– Sunburst Pillow Free SVG Files
– Girl Doll Face (Design Studio)
– Fiberfil
– Basic Sewing Supplies
To begin this project, I cut out 4 squares (5 1/2″) out of each of the six colors of fabric I had chosen. Cricut made it super easy with this pretty stack of fat quarters that already had the rainbow of colors to choose from. Don’t worry about cutting the squares perfectly. You just need them small enough to fit on mat. Love that I can leave the precision cutting to my Cricut Maker!

Start positioning the fabric on the mat. Two things I highly suggest you invest in: the FabricGrip Mat and the Brayer kit. Both are totally essential to getting the perfect cut!

Begin cutting out the colorful rays with the Sunburst Pillow Free SVG Files . I didn’t have any basting spray or else I would have applied three layers of fabric per cut. Next time!

Remove the excess fabric and lay the cut piece to the side. The Broad Tip Tweezers are helpful at removing the fabric without damaging the mat. Don’t worry about removing all the fabric fibers though! The rotary blade will slice right through them the next time you use the machine.

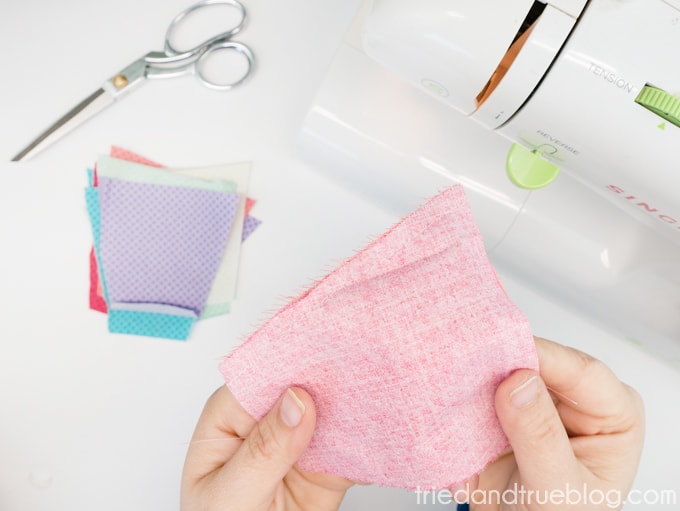
Now that all the pieces have been cut, let’s start the fun part…sewing! Using a 1/4″ seam, sew the first two color sides together (red & orange). Continue sewing all the pieces together until you have a full circle.
Press all the seam open. The Cricut EasyPress Mat is perfect for this!
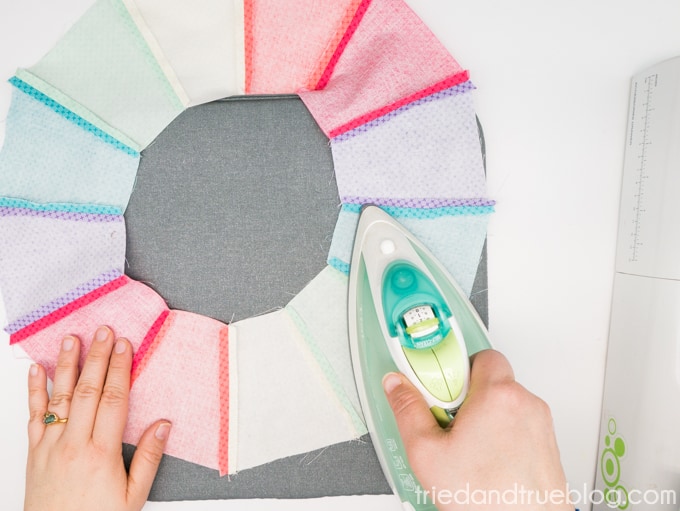
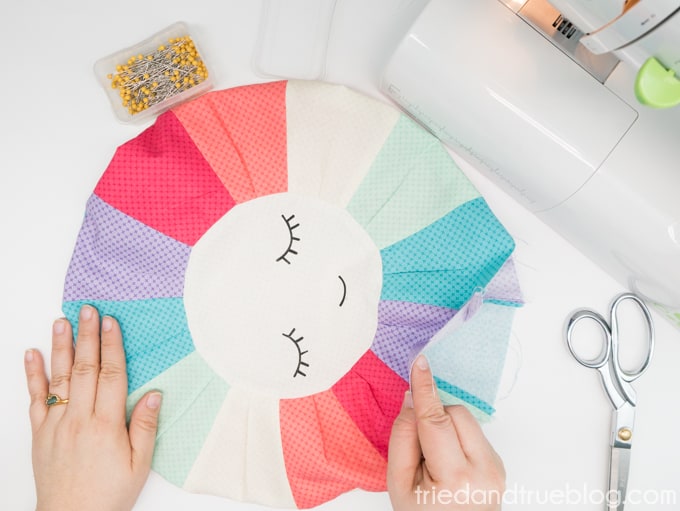
Take the circle that is also included in the Sunburst Pillow Free SVG Files and pin to the center of the circle. You want the raw edges of the circle and the rays to meet.

Sew a 1/4″ seam around the center raw edge, puckering each strip of color in the center to create a crease that further mimics the look of a sun ray. Repeat above steps to make a second identical side.

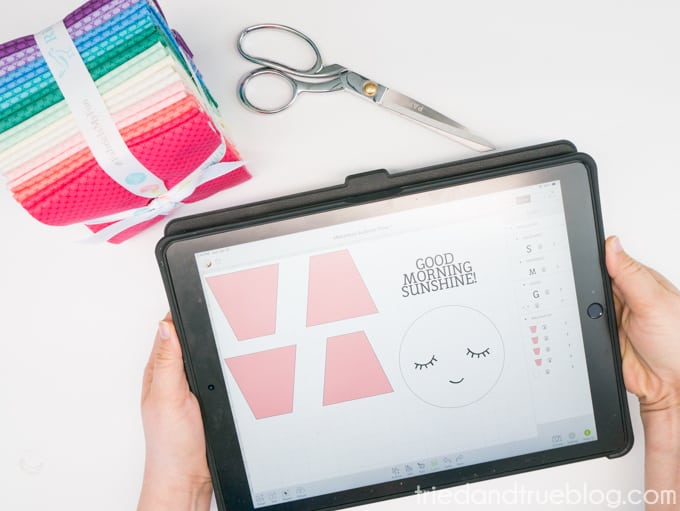
Replace the Rotary Blade with the Fine Point Blade and follow instructions for cutting out the face and wording. I absolutely loved the sweet little face I found on Design Space. It’s part of the Cricut Access library which is a monthly subscription that gives you access to more than 60,000 images and fonts like the ones I used in this project! (font: Napoleone Slab Std Regular)

Once the vinyl has been ironed in place on both sides of the Sunburst Pillow, sew the edges together with a 1/2″ seam (wrong sides facing inward). Make sure to leave an opening for either a pillow form or to fill with fiberfil. Once filled, sew the opening shut by hand.
I’m so happy with how this Sunburst Pillow Free SVG Files project turned out and would love to see your projects! This was my first attempt at designing patterns to be used the the Cricut Rotary Blade and I’m just blown away at how easy it was. Can’t wait to tackle more fun patterns for you guys and since the Rotary Blade can hundreds of different fabrics within a quarter of an inch, the sky’s the limit. Feel free to email me with fun ideas you want me to work on!

Click HERE to find out my Top 5 Reason You NEED the Cricut Rotary Blade!

PIN FOR LATER!
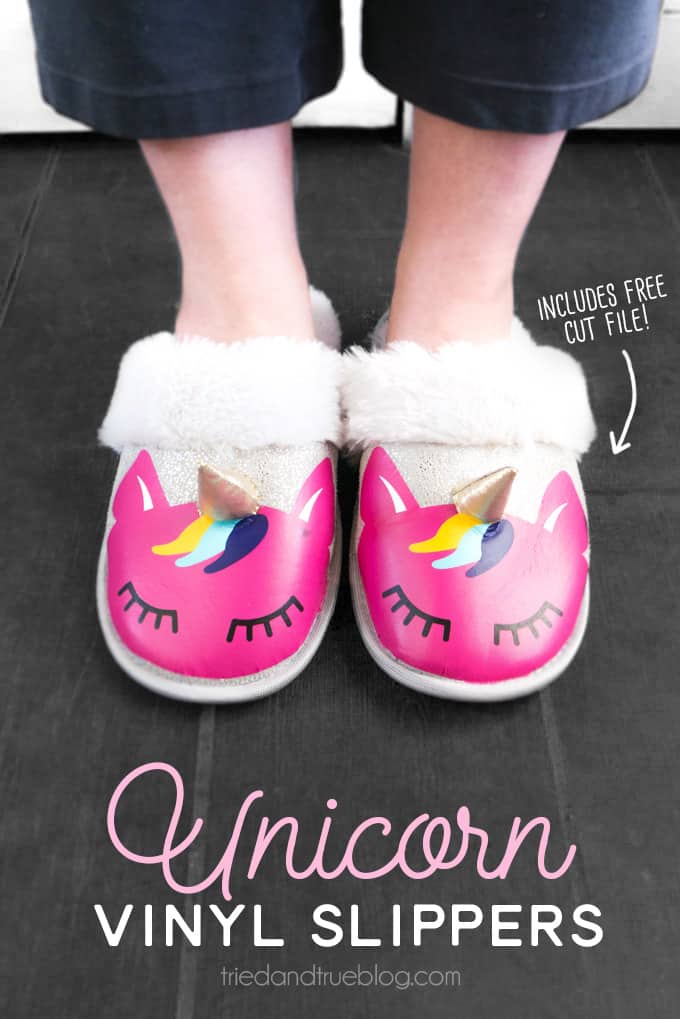
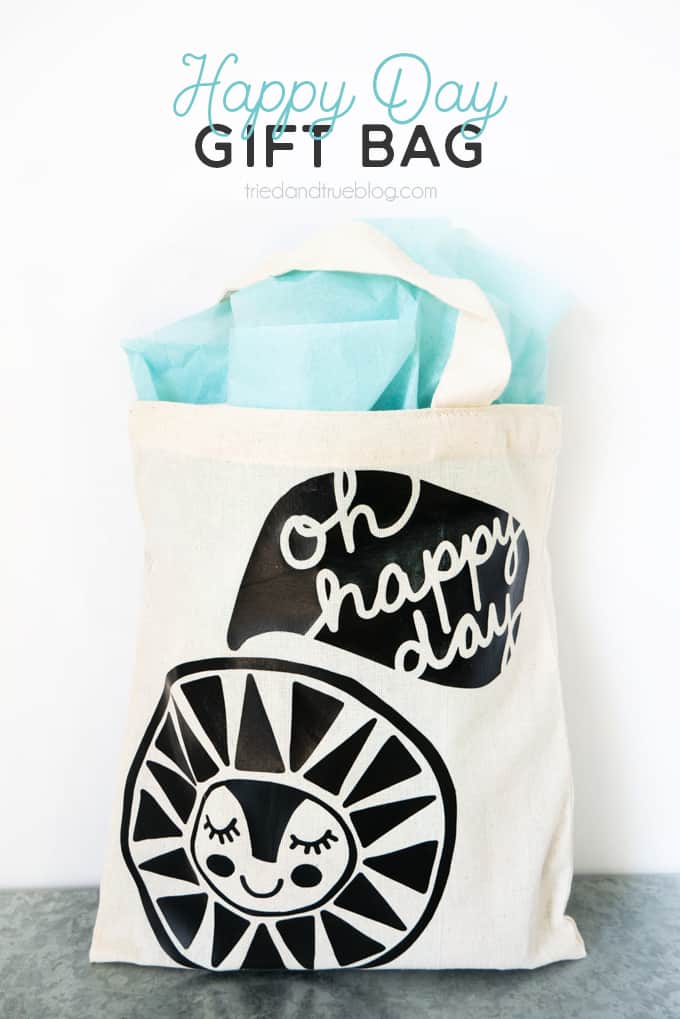
Want more T&T Cricut Projects?


Leave A Reply!