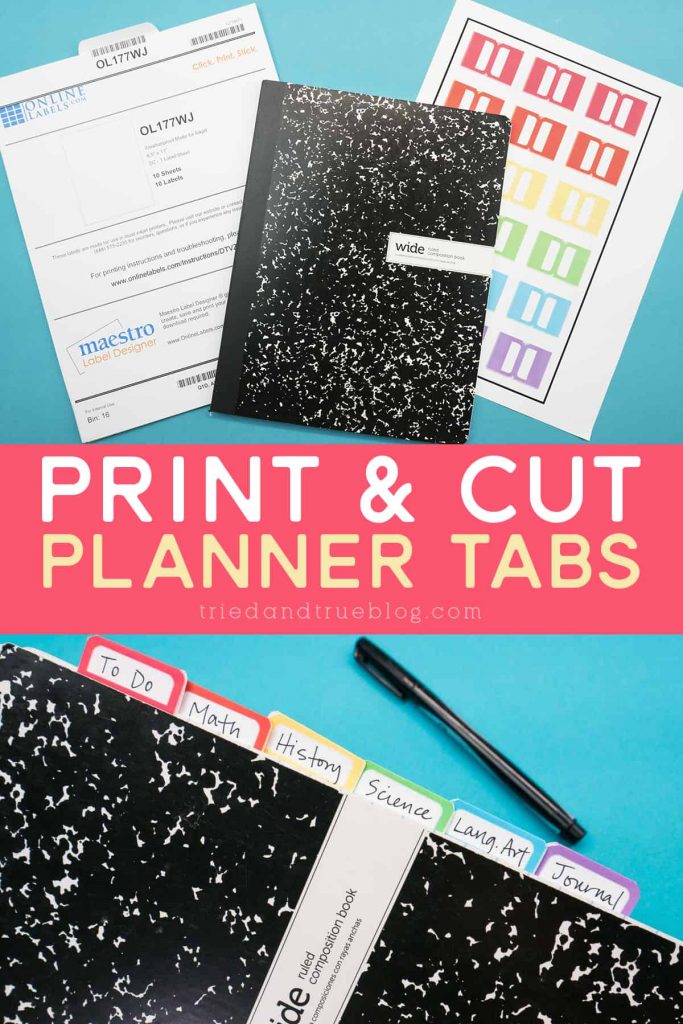
Customize and organize all at the same time with this tutorial on how to make Planner Tabs with Cricut. Super fun way to add some color to your planner!
School is back in session and we’re all about organization over here! Since we’ve got a kid with asthma, one with a history of seizures, and a toddler, homeschooling was the only option we had due to COVID.
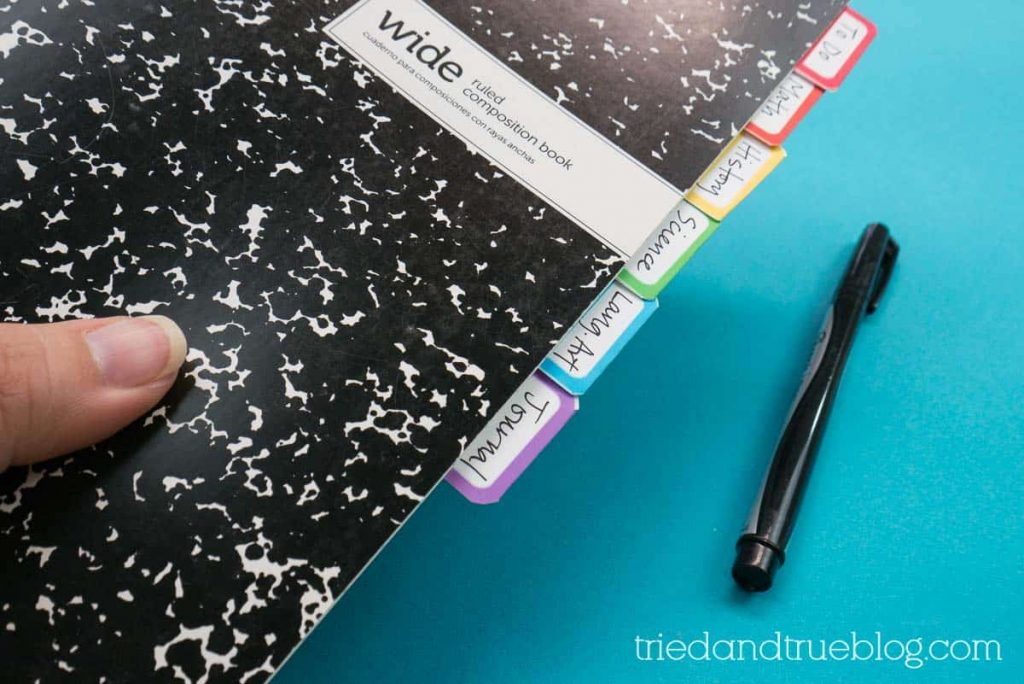
I’ve had to learn a ton about how to homeschool in the last few months. Curriculums, online classes, and books, oh my! One thing that has totally saved me has been these planner tabs I made with my Cricut Maker.
I’ve been adding them to books, planners, and printouts in an effort to organize my mind. Granted, my brain is still all over the place when it comes to homeschooling but at least the info is organized!
How to make planner tabs
Making these subject tabs is, seriously, so easy and only takes a few minutes from start to finish! All you’re going to need is the free SVG file found below and Sticker Paper from OnlineLabels.com.
I love all of OnlineLabels.com‘s products but their sticker paper is one of my favorites. It’s got a really nice feel to it and cuts like a dream! I used the matte version but they’ve got tons of other paper options if you’d like something different.

Once you’ve got you’re supplies, all you need to do is pull the SVG file into Design Space and set it up to print & cut. Now, when you print the file, it’ll have a bold black border around the tabs so that the machine can read where to cut.
Of course, the process will be slightly different if you’re using another cutting machine. I suggest checking out YouTube videos if you’ve got any questions about your machine.


Leave A Reply!